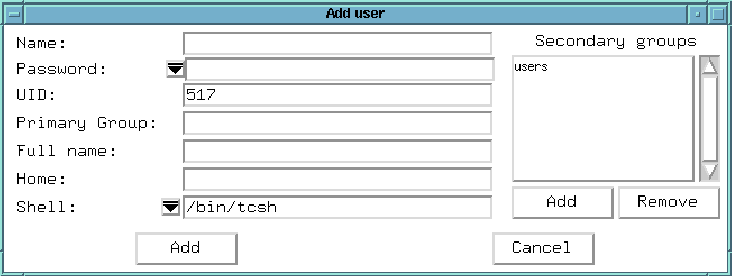
Figure 8.2: Add User Dialog Box
To add a user, click on the Add button in the main window. A dialog box will pop up like the one in figure 8.2 will appear, with some defaults already filled in.

Figure 8.2: Add User Dialog Box
First enter the user name. This is not the user's first and last name; it is the id they will use to log on to the system. Do not include any spaces or colons, and do not enter more than 8 characters. Press the enter key when you are finished, and some of the other fields will be filled in with default values. You may change them if you wish, but it is not necessary. Next, enter the user's full name, and select a login shell using the drop-down menu. And finally you need to do something with the password. There are three options here: Edit, None, or Lock. None is a very bad option -- with no password anyone can login to your system using this id. Choosing Lock will prevent anyone from logging in with this id. Usually you will choose Edit. A small dialog box will appear where you will need to enter a password, and then confirm it by typing it a second time. Click on Ok after this, and then click on Add in the user entry dialog box to add the user.
If this user does not already have a home directory (and they won't unless you have already created one), you will be asked if you want to create one. Unless you will be mounting home directories from another machine, you should click on Yes.